Welcome to ShopWWMM
Premium Woodworking Plans
-
Space-Saving Kitchen Pantry
Regular price $27.00 USDRegular priceUnit price per -
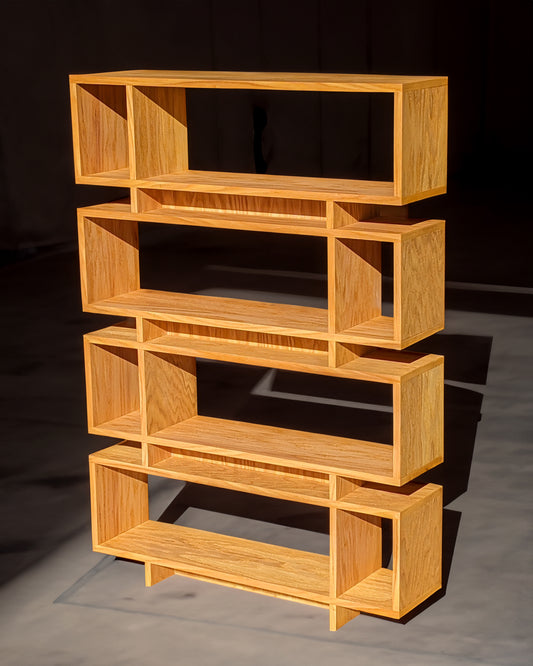
Contemporary Bookcase
Regular price $27.00 USDRegular priceUnit price per -
Modular Toy Truck (U.S. and METRIC)
Regular price $27.00 USDRegular priceUnit price per -
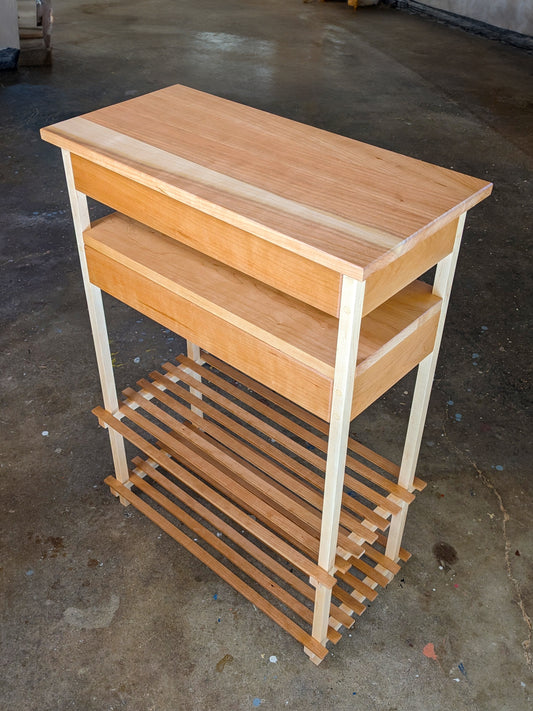
Personal Dressing Stand (U.S. and METRIC)
Regular price $27.00 USDRegular priceUnit price per -
Halloween Candy Dispenser
Regular price $27.00 USDRegular priceUnit price per -
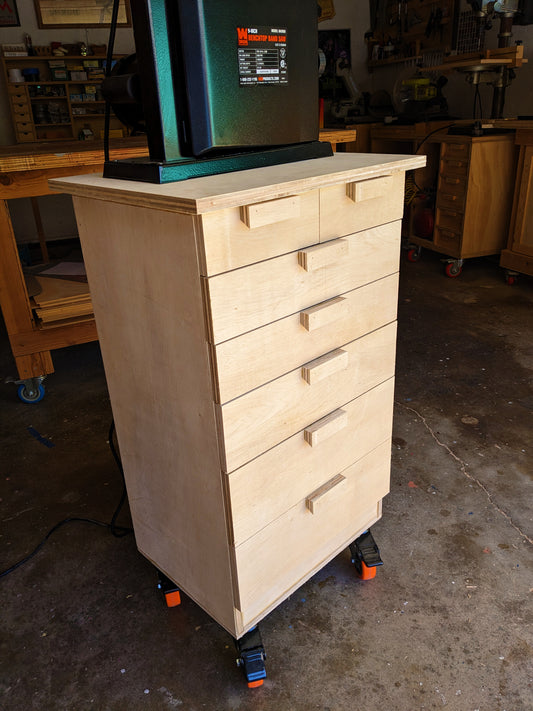
Multi-Purpose Mobile Tool Stand (METRIC AND U.S.)
Regular price $27.00 USDRegular priceUnit price per -
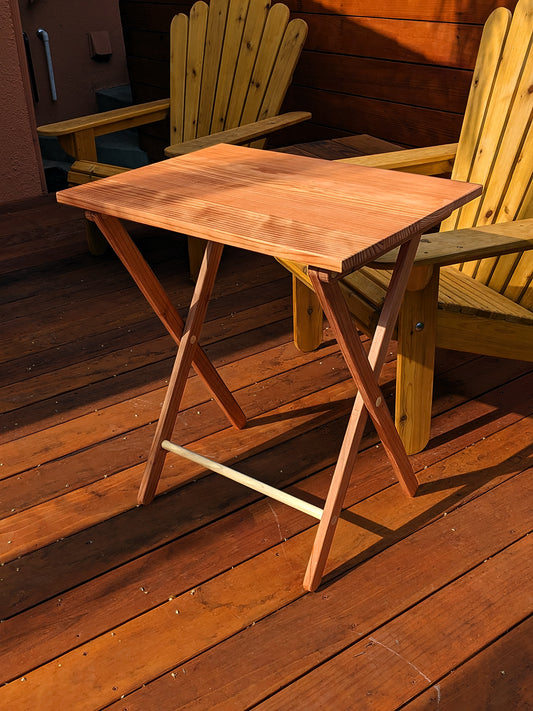
Folding Tray Table
Regular price $27.00 USDRegular priceUnit price per -
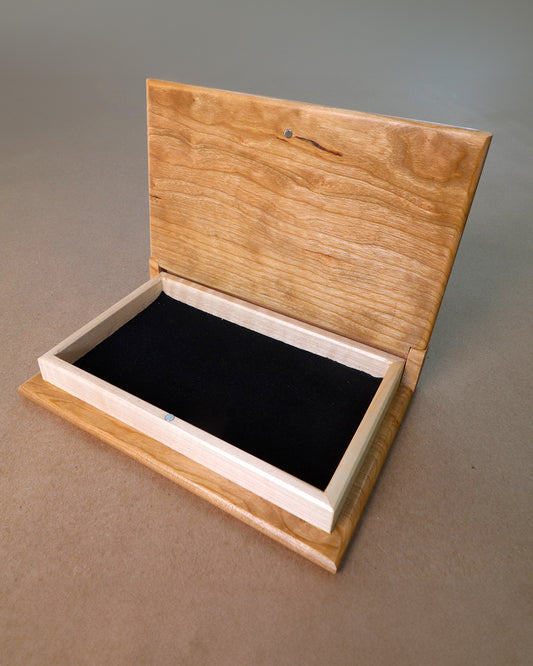
"Wooden Book" Keepsake Box (METRIC AND U.S.)
Regular price $27.00 USDRegular priceUnit price per -
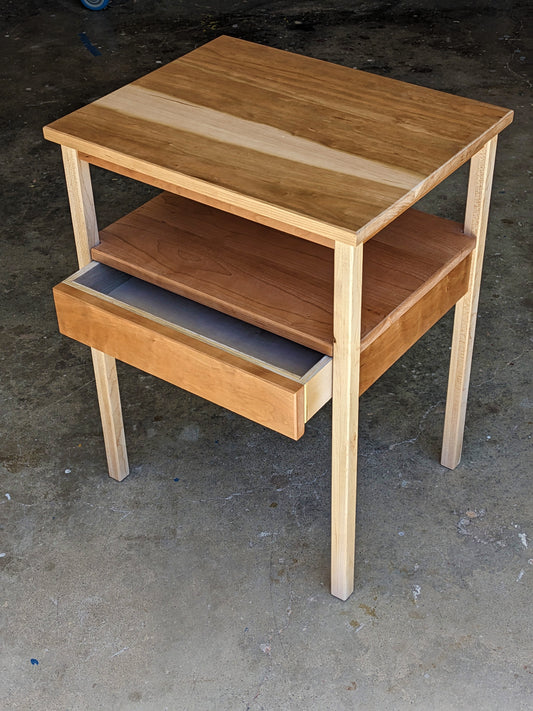
Contemporary Style Nightstand (METRIC AND U.S.)
Regular price $27.00 USDRegular priceUnit price per -
Adirondack Chairs (2 sizes)
Regular price $27.00 USDRegular priceUnit price per


Essential Downloads

Pay-What-You-Want Woodworking Plans
-
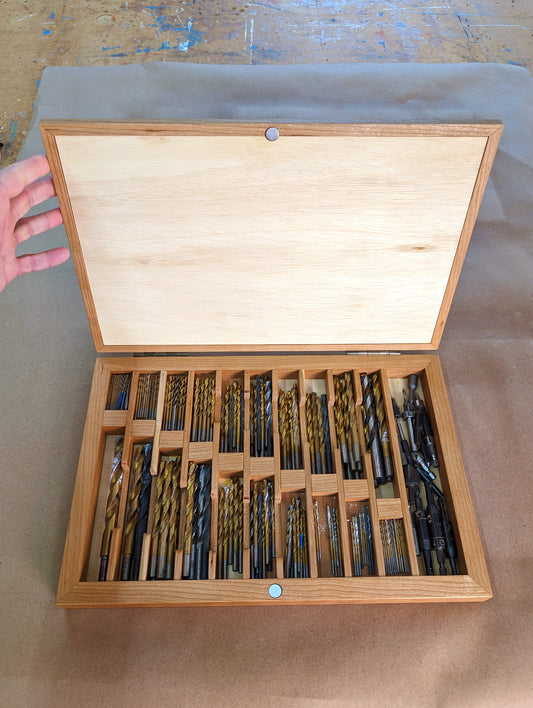
Drill Bit Storage Case
Regular price From $0.00 USDRegular priceUnit price per -
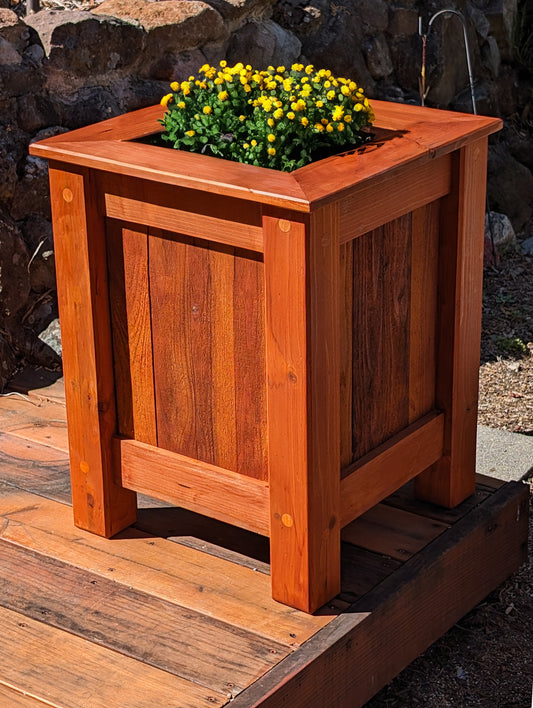
Springtime Planter Box
Regular price From $0.00 USDRegular priceUnit price per -
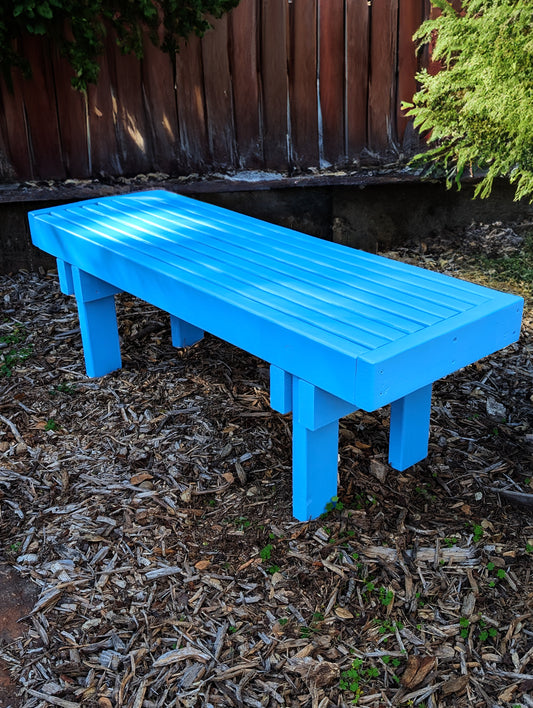
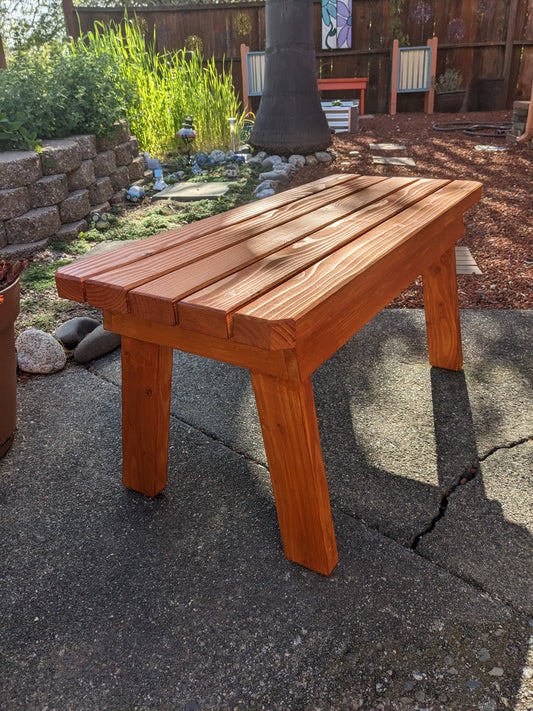
Springtime Garden Bench
Regular price From $0.00 USDRegular priceUnit price per -
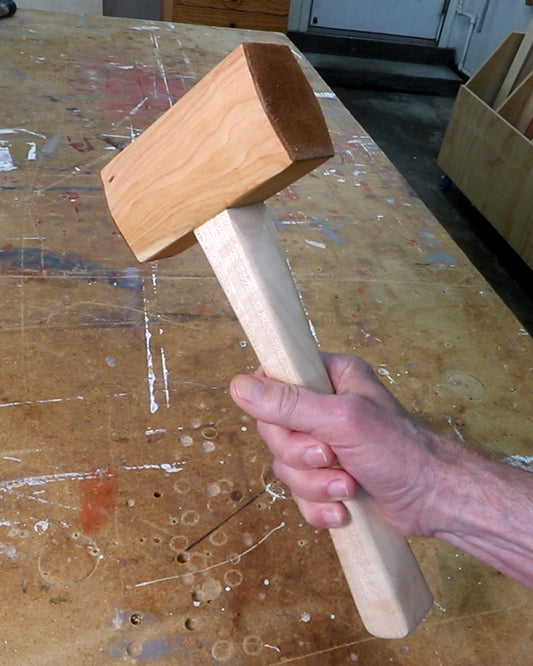
Dead Blow Woodworking Mallet
Regular price From $0.00 USDRegular priceUnit price per -
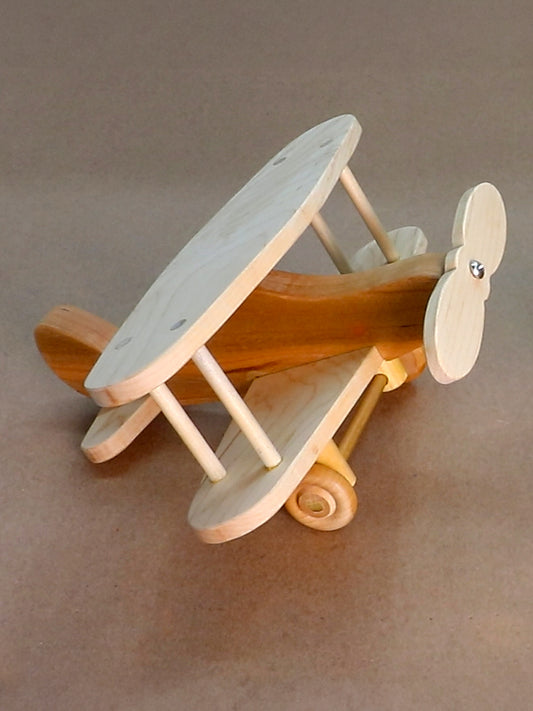
Toy Planes (U.S. and METRIC)
Regular price From $0.00 USDRegular priceUnit price per -
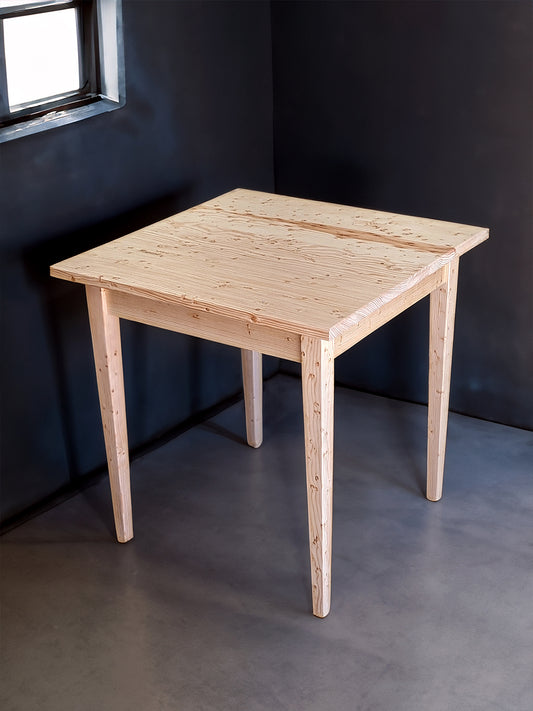
Basic End Table
Regular price From $0.00 USDRegular priceUnit price per -
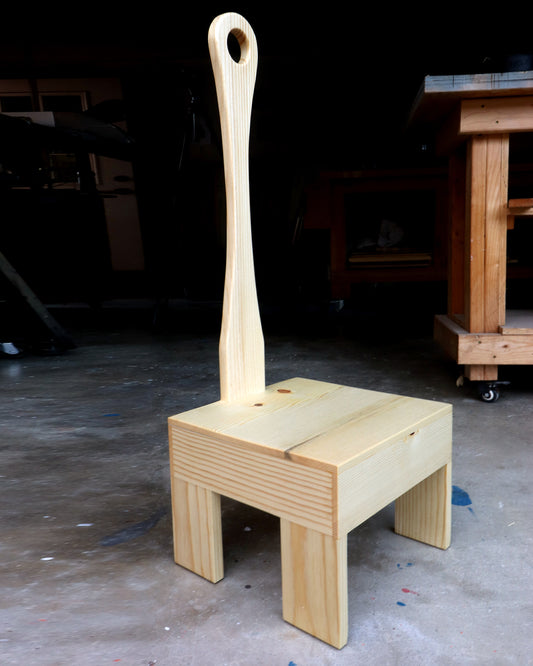
The World's Handiest Step Stool
Regular price From $0.00 USDRegular priceUnit price per -
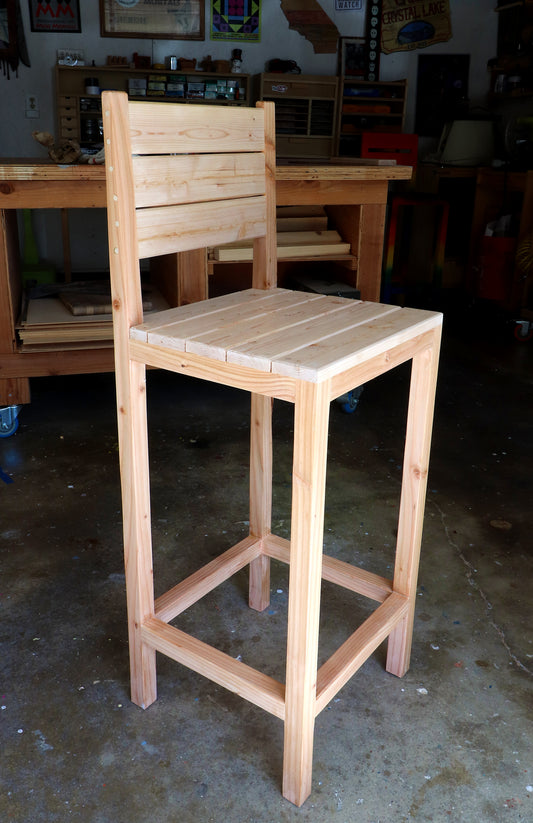
Versatile Bar Stool
Regular price From $0.00 USDRegular priceUnit price per -
Cozy Garden Bench
Regular price From $0.00 USDRegular priceUnit price per -
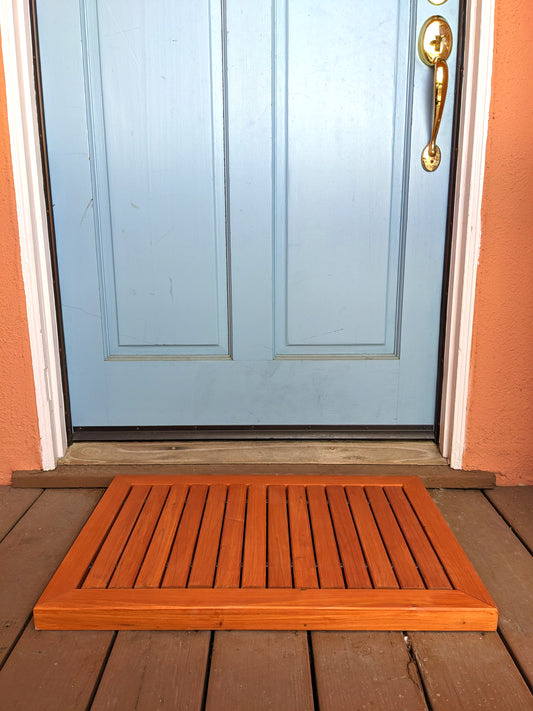
Decorative Wooden Doormat
Regular price From $0.00 USDRegular priceUnit price per -
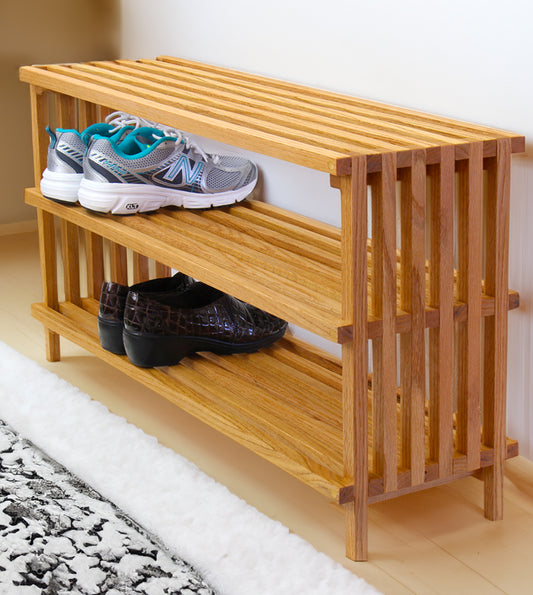
Contemporary Shoe Rack
Regular price From $0.00 USDRegular priceUnit price per